Rescuing an unbootable Cloud Server
It’s pretty easy to mis-configure something and render one of your servers inaccessible or unbootable. Brightbox makes it easy to boot into a system rescue tool and fix the problem.
Graphical console
Firstly, open up the graphical console for your Cloud Server. You can do this with either Brightbox Manager or the command line interface.
Boot into the PXE system
PXE stands for “Preboot eXecution Environment”, and every Cloud Server can be
made to boot into this instead of booting into the installed operating
system. You just need to hit escape
as it first starts to boot.
So hit the Send CtrlAltDel
button in the graphical console to start a
reboot of your system if you can. If you broke things so hard this doesn’t work,
you’ll need to stop and start your server using the manager action menu (this
kicks you out of the graphical console, so you’ll need to be quick to bring it
back up in time after a start!)
Then hit the escape
key when prompted, and you’ll be shown a selection of
boot devices to choose from.
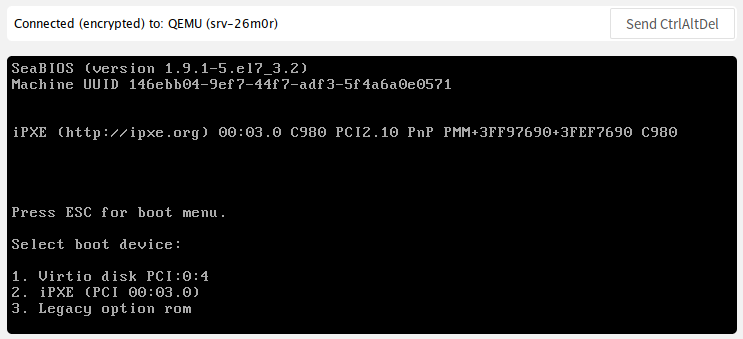
Virtio disk
is your cloud server’s disk, which is the default to boot
from normally. We want iPXE
, so select 2
.
The system will then boot into the iPXE system.
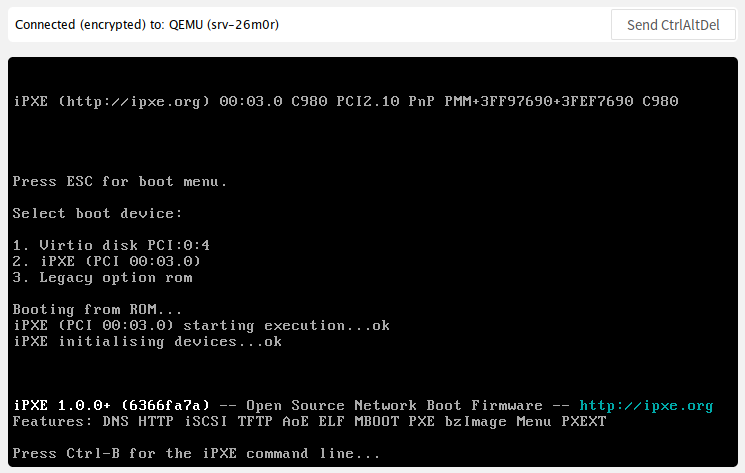
If you want to choose your own specific system rescue tool then hit
Ctrl-B
here. Otherwise, just wait and a default tool will boot for you.
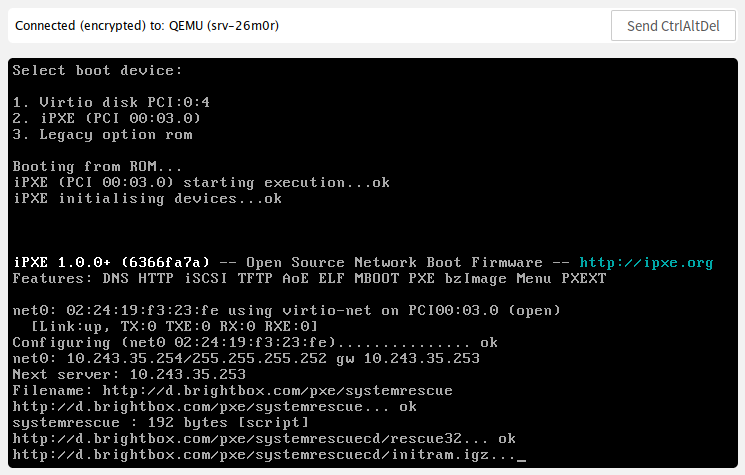
The Brightbox default rescue tool is the system rescue cd, so if you’re familiar with that then you’re all set.
As it boots, it’ll ask which keyboard mapping you want. The default is US, but
you can choose any of the available maps. Type uk
and hit enter to get a
United Kingdom keyboard map.
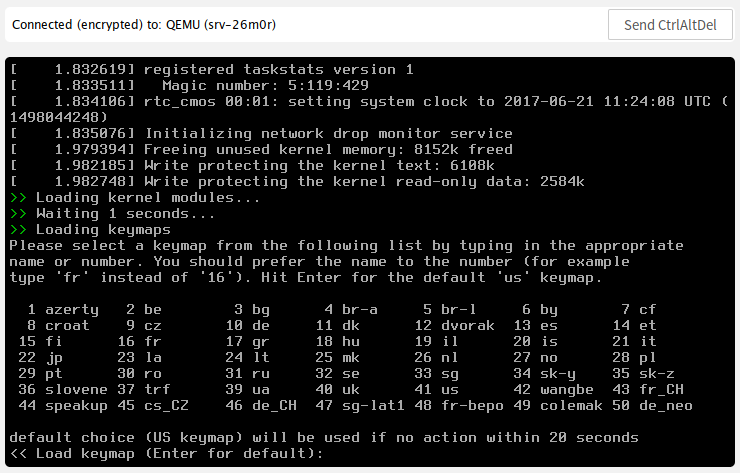
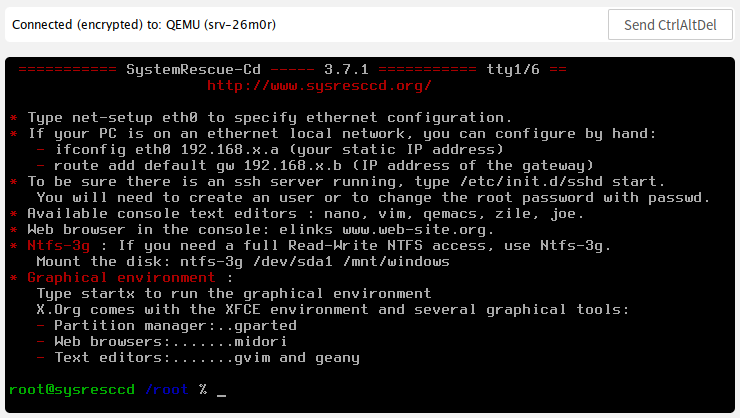
Then wait for the rescue image to be downloaded and booted. Once complete, you’ll see a shell prompt and you’re ready to do some rescuing:
Access your servers filesystem
Now that SystemRescue is booted, you can mount your Cloud Server’s filesystem
and fix whatever you broke. The server’s disk is /dev/vda and most of our
Linux images have the first partition, /dev/vda1, as the main filesystem.
So just make a mount point and mount it:
$ mkdir /mnt/vda1
$ mount /dev/vda1 /mnt/vda1
If you’re rescuing a Windows server, then it’s probably partition 2, so
/dev/vda2.
If you have a more advanced storage layout like LVM then it’s a little trickier, but SystemRescue should have all the tools you need.
As an example, you could now change the password for a Linux user account with
the chpasswd tool:
$ echo "ubuntu:anewpassword" | chpasswd -R /mnt/vda1When you’re done, just type reboot and the filesystem will be unmounted and
your server will reboot back into it’s operating system!
SSH access
SystemRescue starts up an SSH daemon by default, so just set a password by
running passwd root and you can ssh into the rescue environment. Handy if you
want to upload a new SSH key, or just want to just take a copy of your data from
an unbootable system.